This article explains how to connect your Topsportslab account to your Polar Flow account and automatically sync training sessions that were registered on your Polar watch to Topsportslab.
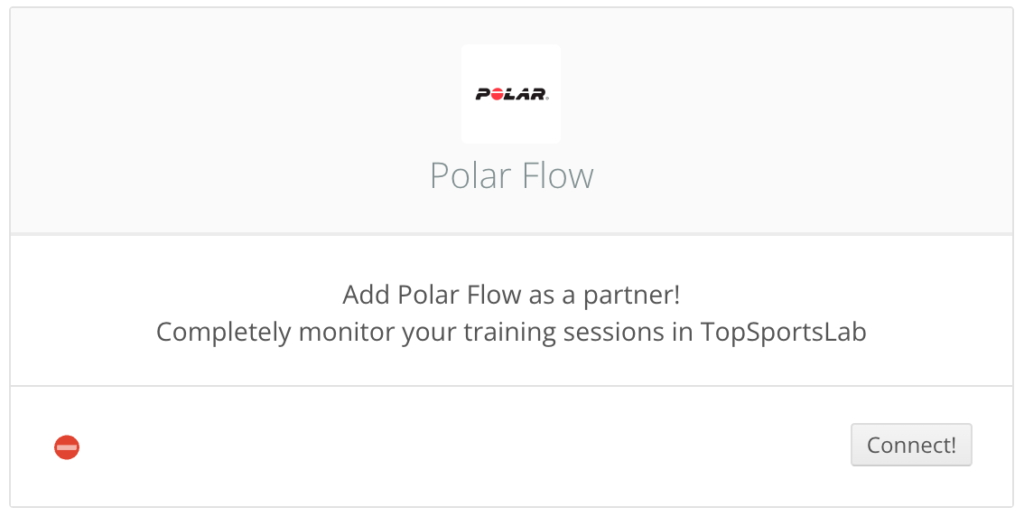
To connect your account you need to authorise Topsportslab to read your data stored in Polar Flow. This can be done by navigating to Settings > Partners. On this page look for the Polar Flow panel and click on the Connect button.
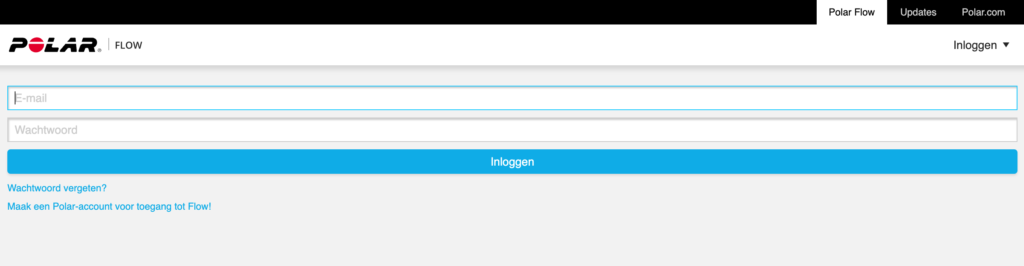
You will be redirected to a page on flow.polar.com, on which you will first be asked to log in to Polar Flow if your browser does not have an active session yet.
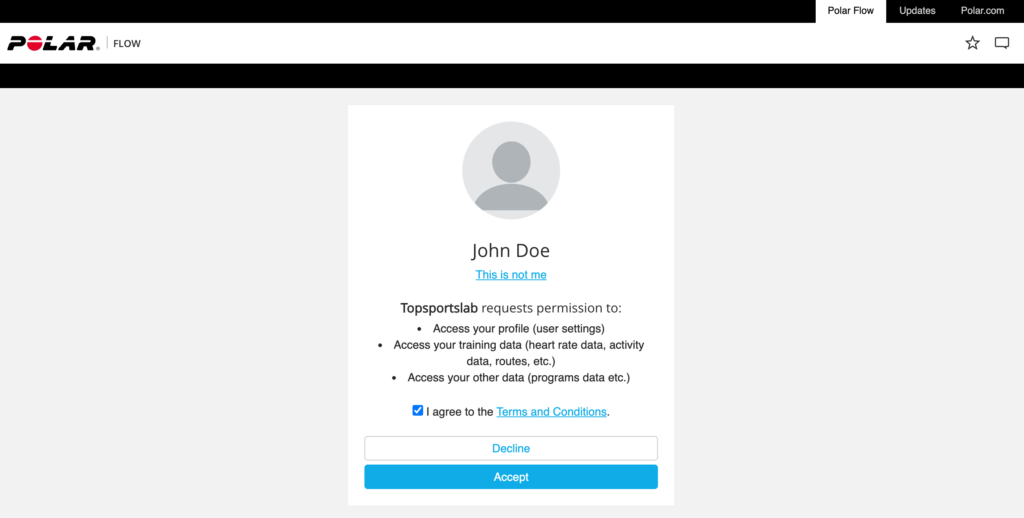
Once you are logged in you will be asked for your permission to share your data with Topsportslab and to accept the Terms And Conditions. Check the checkbox and click Accept.
Once you click Accept you will be redirected to Topsportslab.
The Polar Flow window should now have a green status indicator.
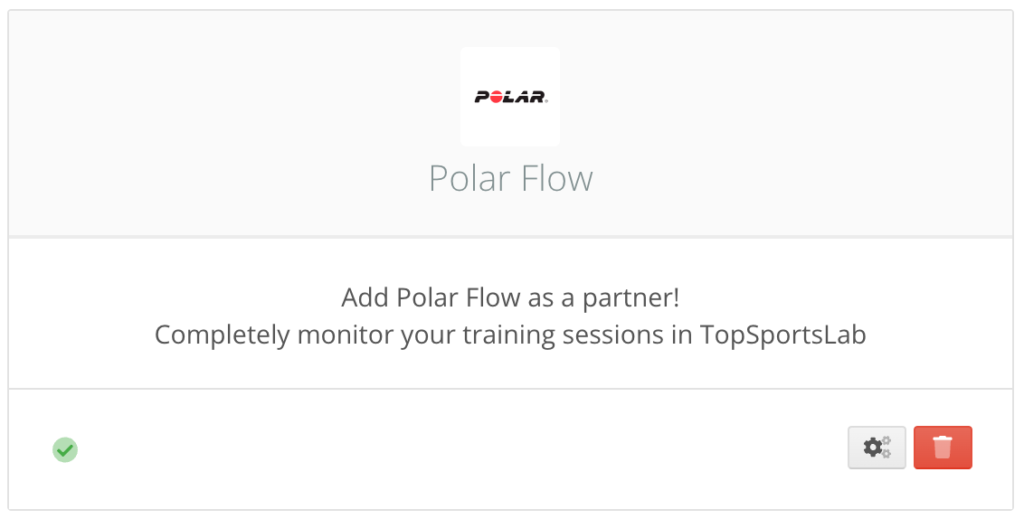
Congratulations! Your Topsportslab account is now connected to Polar Flow and is ready to import your sessions.
Polar Flow works with push service, so your Topsportslab account can not control when sessions are imported. Polar Flow will send the sessions to your Topsportslab account automatically once they are finished synching from your watch to the Polar Flow app. Usually they should appear in Topsportslab within a few minutes.
To check the sessions that were imported from Polar Flow you can use the Training Files feature in the Training & Game module.